Friday, January 23, 2026
The Ultimate Guide to Mastering Gemini CLI: Your AI-Powered Software Engineering Assistant
Posted by
Deprecated for individual consumers:
Gemini CLI is no longer available for individual consumers as of June 18, 2026.
It has been replaced by Google Antigravity CLI (agy).
Enterprise customers with Vertex AI or Gemini Code Assist licenses are unaffected.
See the transition overview and migration guide
and migration guide for details.
In the rapidly evolving landscape of AI development tools, the command line remains a powerhouse for developers. Enter Gemini CLI—an intelligent, interactive agent designed to live directly in your terminal and assist with complex software engineering tasks. Unlike generic chat interfaces, Gemini CLI is context-aware, safety-conscious, and built to integrate deeply with your existing project workflows.
This guide is designed to take you from a complete beginner to a power user, covering everything from basic installation to advanced Model Context Protocol (MCP) integrations and CI/CD automation.
What is Gemini CLI?
Gemini CLI is more than just a chatbot; it's a specialized engineering agent. It runs locally on your machine, allowing it to read your file structure, understand your project's conventions, and execute commands (with your permission). Whether you're debugging a tricky error, refactoring legacy code, or scaffolding a new microservice, Gemini CLI acts as a pair programmer that lives in your terminal and knows your codebase deeply. It is an open-source tool available on GitHub.
The beauty of a CLI-based agent is the lack of context switching. Instead of copying and pasting code between your editor and a browser, you can simply type a command. The CLI has direct access to your local tools—grep, ls, git, and even your custom test runners—allowing it to "see" and "do" rather than just "suggest."
The "Local First" Philosophy
Traditional AI assistants are "cloud first"—you send them your code, they process it, and you copy the result back. Gemini CLI is "local first." While the model runs in the cloud, the agent execution happens on your hardware. This means the AI can interact with your local development server, read your .env files (carefully!), and run your compilers. This bridge between high-level reasoning and low-level execution is what makes Gemini CLI a true "agent."
Getting Started: Installation and Environment Setup
Setting up Gemini CLI is straightforward, but for a "master level" setup, you should pay attention to your Node.js environment.
Prerequisites
- Node.js: Version 18.0.0 or higher. We recommend using
nvmorfnmto manage your versions. - Google Cloud Project: You'll need a project with the Vertex AI API enabled if you plan to use corporate-grade models, or a simple API key for personal use via AI Studio.
Installation Options
The Global Approach:
npm install -g @google/gemini-cli
The Managed Approach (via Homebrew on macOS):
brew install gemini-cli
The Temporary Approach (npx):
npx @google/gemini-cli
Note: Always verify the exact package name on npm as package names can change.
Authentication: Bridging the Gap
Upon your first run, you'll need to authenticate. Run gemini in your terminal and select "Login with Google". This connects the CLI to the powerful Gemini models hosted on Google Cloud.
For headless environments (like Docker containers or CI servers), you can authenticate using a service account key or an API key:
export GOOGLE_API_KEY="your_api_key_here"
gemini
Technical Architecture: Under the Hood

To master the CLI, you must understand the data flow between your terminal and the LLM.
1. The Monorepo Structure
Gemini CLI is developed as a monorepo, ensuring that the core logic is decoupled from the terminal UI.
packages/cli: Handles the "vibe" of the terminal. It uses React via Ink to create a dynamic, responsive UI that feels more like a modern app than a static bash script.packages/core: Manages the "intelligence." It handles model selection, tool definitions, and the ReAct loop.
2. The ReAct (Reason + Act) Loop in Detail
The CLI operates on a recursive feedback loop:
- Context Loading: The agent reads your current directory, checks for a
GEMINI.mdor.cursorrulesfile, and builds a comprehensive system prompt. - Model Inference: The prompt is sent to the Gemini API.
- Tool Call: The model identifies that it needs more information (e.g., "I need to read
package.jsonto see your dependencies"). It outputs a structured tool request. - Local Execution: The CLI executes the request locally.
- Observation: The output of the tool (e.g., the content of
package.json) is sent back to the model. - Final Output: Once the model has enough information, it provides the final answer or code block.
Key Features for Power Users

1. Context Awareness with GEMINI.md
This is the single most important file in your project. It defines your architectural standards.
Example GEMINI.md for an Enterprise Next.js App:
# Project Standards
- **Framework**: Next.js 15 (App Router).
- **Styling**: Tailwind CSS with Radix UI primitives.
- **Data Fetching**: Use Server Actions for mutations and `fetch` for queries.
- **Testing**: Vitest for unit tests, Playwright for E2E.
- **Naming**: Use kebab-case for files, PascalCase for components.
- **Security**: Never expose API keys in the client bundle. Use `process.env`.
2. The Ralph Loop: Autonomous Refactoring
The Ralph Wiggum extension (/ralph-loop) allows the CLI to work on tasks that take minutes or even hours.
/ralph-loop "Upgrade this project from React 18 to 19 and fix all breaking changes" --max-iterations 50
Ralph won't just try once and give up. It will update package.json, run npm install, see the 200 compiler errors, and methodically fix each one, running the build after every change to verify progress.
3. Advanced Sandboxing and Security
Running an AI with access to your shell is inherently risky. Gemini CLI mitigates this with a robust sandboxing system.
Sandbox Profiles:
- Standard: Runs tools as the current user. Great for speed.
- Restricted: Disables network access and limits file writes to a temporary directory.
- Docker: Launches every command inside a fresh container. This is the "gold standard" for security.
# Force Docker sandboxing
export GEMINI_SANDBOX=docker
gemini "Refactor this untrusted script I found on the web"
Model Comparison: Pro vs. Flash
Gemini 3, 2.5 Pro, and Flash are the core models supported by the CLI.
| Metric | Gemini 3 Flash | Gemini 2.5 Pro | Gemini 2.5 Flash |
|---|---|---|---|
| Latency | < 1s | 2-5s | < 1s |
| Token Limit | 2 Million | 2 Million | 1 Million |
| Logic | Frontier+ | Legendary | Strong |
| Use Case | Agentic Workflows | Debugging, Architecture | Scaffolding, Search |
Master's Strategy: Use /model 3-flash for agentic coding and complex refactors. Switch to /model pro for deep architectural reasoning where stability is key. Use /model 2.5-flash for high-speed, low-cost exploratory tasks.
Advanced Prompting Patterns
Mastering Gemini CLI requires moving beyond "Fix this bug." Here are 5 advanced patterns:
1. The "Architectural Mirror" Pattern
Goal: Ensure new code perfectly matches existing patterns.
Prompt: "Read the existing implementation of UserService.ts. Now, create OrderService.ts using the exact same error handling, logging, and dependency injection patterns."
2. The "Test-Driven Generation" Pattern
Goal: Write bulletproof code.
Prompt: "I want to implement a password reset logic. First, write 5 failing Vitest tests that cover the edge cases (token expiry, invalid token, etc.). Once I approve the tests, implement the logic in auth.ts until the tests pass."
3. The "Library Migration" Pattern
Goal: Swap dependencies without the headache.
Prompt: "Identify all usages of axios in the /src directory. Convert all of them to use the native fetch API. Ensure that the error handling and timeout logic remain identical."
4. The "Security Audit" Pattern
Goal: Find hidden vulnerabilities.
Prompt: "Analyze all files in the /api directory. Look for potential SQL injection, lack of rate limiting, or improper authorization checks. Present your findings as a table with Severity, File, and Recommended Fix."
Extending Your Agent: MCP and Extensions
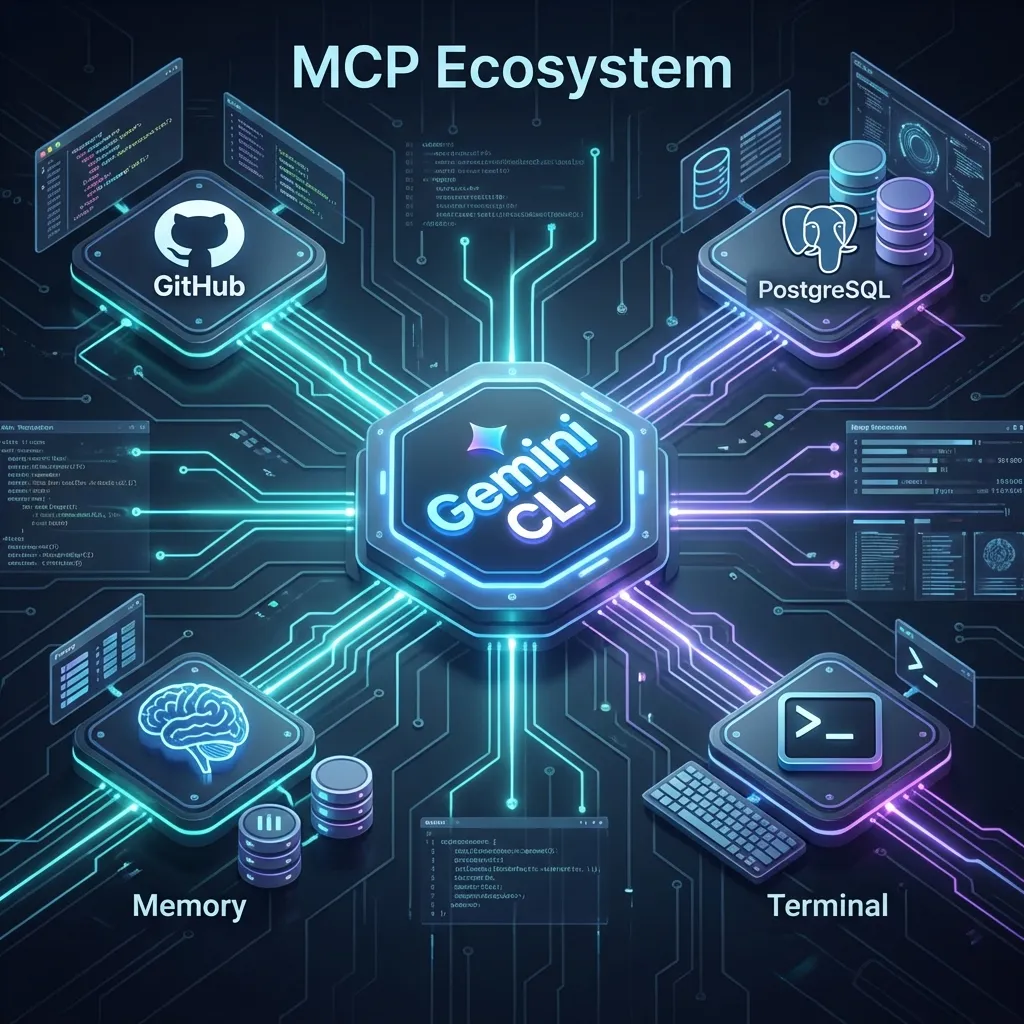
Gemini CLI is designed to be extensible. Instead of building every tool yourself, you can plug in existing Model Context Protocol (MCP) servers and Extensions directly using the gemini command.
1. Managing MCP Servers
The gemini mcp command suite allows you to manage external tool providers without manually editing configuration files.
Adding a Server: To add a new MCP server (e.g., a local Brave Search server or a remote database tool), use:
gemini mcp add <name> <commandOrUrl> [args...]
Example: Adding a local GitHub tool:
gemini mcp add github-tools npx -y @modelcontextprotocol/server-github
Key Commands:
gemini mcp list: View all connected servers and their status.gemini mcp remove <name>: Disconnect a server.gemini mcp enable/disable <name>: Toggle servers without removing them.
2. Installing Extensions
Extensions provide higher-level capabilities, such as custom slash commands or complex agent skills.
Installation: You can install extensions from a GitHub repository or a local path:
gemini extensions install <source>
Example: Installing a security audit extension:
gemini extensions install https://github.com/user/gemini-security-extension
Management:
gemini extensions list: Show all installed extensions.gemini extensions update --all: Pull the latest versions of your extensions.gemini extensions uninstall <name>: Remove an extension.
Once added, these "superpowers" become available to the agent immediately. You can see them in action by typing /mcp or /extensions inside an active session.
Case Study: Refactoring a 100k Line Monolith
Imagine a 5-year-old Node.js monolith. Circular dependencies, no types, and a database.js file that is 4,000 lines long. Here is the master-level workflow using Gemini CLI:
Phase 1: The Audit
Start with a high-level scan:
gemini "Use grep to find all files that import 'database.js'. Group them by domain (e.g., users, orders, products) and identify the top 3 most coupled modules."
Phase 2: The Plan
Ask for a multi-step migration path:
/plan "We want to extract the 'User' domain into a separate microservice. List the 10 steps required to decouple it from the monolith database."
Phase 3: The Ralph Execution
Launch the autonomous worker:
/ralph-loop "Move all user-related database queries into a new /services/user-db.ts file. Update all callers. Ensure that the project still builds after every 5 changes."
Phase 4: The Validation
Ensure no regressions:
gemini "Compare the behavior of the new user-db.ts with the old queries. Write a script that runs both against a staging DB and verifies that the JSON outputs are identical."
Comparative Analysis: Gemini CLI vs. Claude Code vs. Copilot CLI
While Claude Code is exceptional at deep reasoning and "precision strikes" on specific functions, Gemini CLI dominates in monorepo management due to its massive context window. If you need the AI to understand how a change in Package A affects Package Z across 500 folders, Gemini is your best bet. GitHub Copilot CLI remains the choice for tight GitHub integration but lacks the autonomous "agency" of the other two.
Troubleshooting FAQ: Common Roadblocks
Q: Why does it keep asking for confirmation?
A: This is a safety feature. You can enable "Safe Mode" or "YOLO Mode" (not recommended) in your settings.json to auto-accept non-destructive commands.
Q: It can't see my .env files!
A: By default, the CLI ignores sensitive files. Add them to your GEMINI.md as "Trusted Context" if you want the model to read them.
Q: How do I update the CLI?
A: npm install -g @google/gemini-cli@latest.
Q: Can I use it with private LLMs?
A: Yes, via the MCP protocol or by setting up a local OpenAI-compatible endpoint and pointing the CLI to it.
The Future of Terminal-Based AI
We are entering the era of the Headless Engineer. Soon, we won't write code; we will manage swarms of terminal agents. Gemini CLI is the first step in this journey—a bridge between human intent and machine execution.
Conclusion
Gemini CLI is not just another developer tool; it's the future of how we interact with machines. By moving AI from a "chat window" to a "tool-using agent" in your terminal, it removes the friction between thought and execution.
Ready to dive deeper? Check out our guides on Prompt Engineering to learn how to communicate effectively with AI agents, or explore the MCP Ecosystem to see how to extend your AI's capabilities even further.