
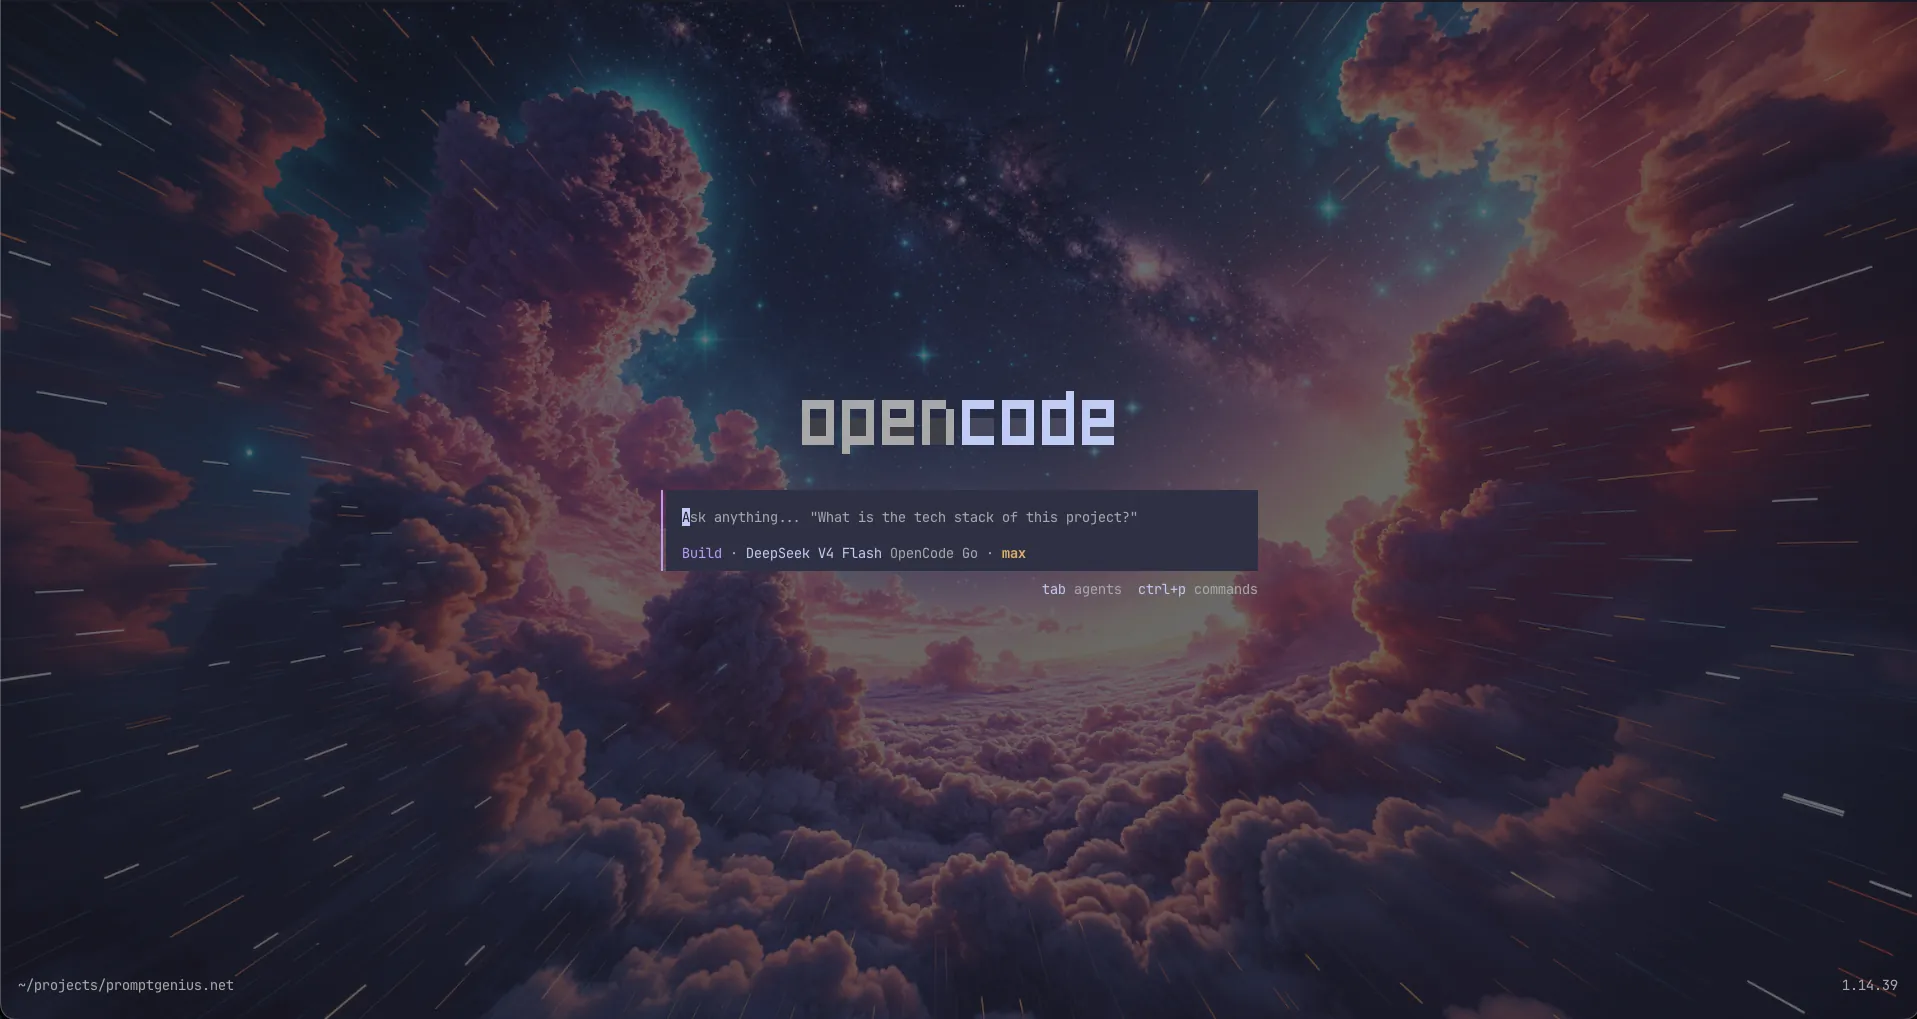
OpenCode is an open source AI coding agent built for the terminal. With over 155,000 GitHub stars and support for 75+ LLM providers, it's one of the fastest-growing developer tools in the AI space. Its key differentiator: privacy first. OpenCode does not store your code or context data.
This guide covers installation, provider setup, the two pricing tiers (Zen and Go), and the features that make OpenCode a powerful coding companion.
Installation
The quickest way to install OpenCode is via the install script:
curl -fsSL https://opencode.ai/install | bash
Package managers are also supported:
npm install -g opencode-ai
This also works with bun, pnpm, and yarn.
macOS / Linux via Homebrew:
brew install anomalyco/tap/opencode
The official tap provides the most up-to-date releases. The Homebrew core formula (brew install opencode) is maintained separately and updated less frequently.
Arch Linux:
sudo pacman -S opencode          # Stable
paru -S opencode-bin             # Latest from AUR
Windows:
Recommended: use WSL for best experience.
choco install opencode           # Chocolatey
scoop install opencode           # Scoop
npm install -g opencode-ai       # NPM
Docker:
docker run -it --rm ghcr.io/anomalyco/opencode
To upgrade an existing installation:
opencode upgrade
Authentication & Provider Setup
OpenCode supports 75+ LLM providers. You manage credentials through either:
- CLI:
opencode providers login [url] - TUI:
/connectinside the terminal interface
Both methods store API keys and OAuth tokens in ~/.local/share/opencode/auth.json. To see what's currently configured:
opencode providers list
This displays all active credentials and their auth method (API key, OAuth, device code).
OpenCode Zen (Free + Pay-As-You-Go)
Zen is OpenCode's built-in model platform. It has two tiers:
- Free tier — limited free models included, no payment needed
- Pay-as-you-go — add a $10 minimum balance and pay per request for premium models
Zen models are curated and tested by the OpenCode team specifically for coding agent workloads. No need to worry about configuration quality across different providers.
Setup:
opencode providers login
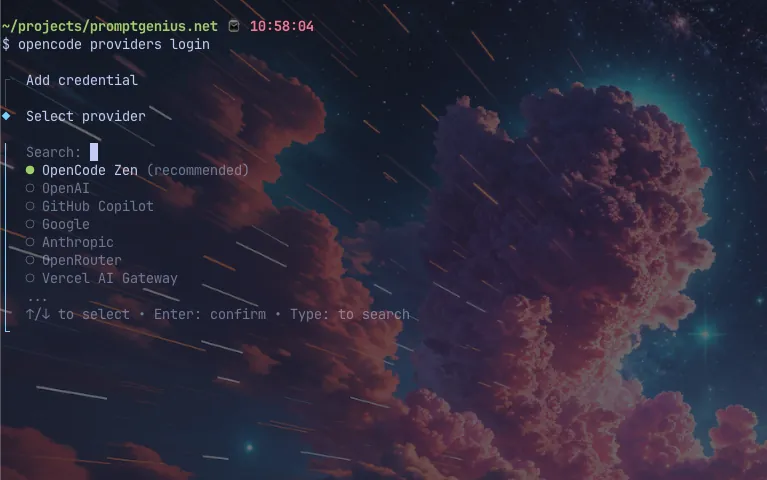
Select OpenCode Zen, which opens your browser to opencode.ai/auth. Sign in or create an account, then copy your API key and paste it in the terminal.
Alternatively, use the TUI:
/connect
Select OpenCode Zen, authenticate through your browser, and paste the API key.
OpenCode Go ($10/month)
Go is a subscription tier that provides generous usage limits on powerful open-source models.
Included models: GLM-5.1, Kimi K2.6, Qwen3.6 Plus, DeepSeek V4 Pro, DeepSeek V4 Flash, MiniMax M2.7, MiMo-V2.5-Pro, and more.
Pricing: $10/month (first month $5 as an introductory promotion).
Setup: Same flow as Zen — opencode providers login or /connect → select OpenCode Go → authenticate → start using.
Using Your Existing Subscriptions
OpenCode lets you bring your own subscriptions from other providers. No additional cost.
ChatGPT Plus/Pro (OpenAI):
/connect
Select OpenAI, then choose ChatGPT Plus/Pro for browser-based OAuth authentication. All OpenAI models become available under /models.
GitHub Copilot:
/connect
Select GitHub Copilot. You'll receive a device code — navigate to github.com/login/device, enter the code, and authorize. Note that some models require a Pro+ subscription.
Anthropic (Claude Pro/Max):
/connect
Select Anthropic, then choose Claude Pro/Max for browser auth. You can also manually enter an API key from the Anthropic Console.
OpenRouter:
Get an API key from the OpenRouter dashboard.
opencode providers login
Search for OpenRouter, paste your API key, and pick from any model OpenRouter supports.
Other providers (DeepSeek, Google, Groq, Ollama, Together AI, etc.):
The /connect or opencode providers login flow works the same for all 75+ providers. Search for the provider name, enter credentials, and select models via /models.
Local models (Ollama, LM Studio, llama.cpp):
Configure local providers in ~/.config/opencode/opencode.json with the OpenAI-compatible endpoint:
{
  "$schema": "https://opencode.ai/config.json",
  "provider": {
    "ollama": {
      "npm": "@ai-sdk/openai-compatible",
      "name": "Ollama (local)",
      "options": {
        "baseURL": "http://localhost:11434/v1"
      },
      "models": {
        "llama3": {}
      }
    }
  }
}
Config File
The main configuration lives at ~/.config/opencode/opencode.json. This manages:
- plugins — installed modules that extend functionality
- provider — model overrides, custom endpoints (e.g., for local models)
- model — default model selection
- tools — custom tool configurations
- permissions — tool permission settings
- themes — UI theme selection
- keybinds — custom keyboard shortcuts
The opencode.json does not store raw API keys — those live in auth.json under ~/.local/share/opencode/.
A per-project opencode.json can also be placed in the project root, overriding global settings for that specific codebase.
First Project Setup
Navigate to a project directory and run OpenCode:
cd /path/to/project
opencode
Run the init command to let OpenCode analyze your project:
/init
This creates an AGENTS.md file in the project root containing the project structure, technology stack, and coding conventions. You can also edit it manually to add preferred libraries, testing patterns, architecture decisions, and any project-specific rules or gotchas.
Commit this file to git — it helps OpenCode understand your project on every future session.
Plan Mode vs Build Mode
OpenCode has two agents you can switch between with the Tab key:
- Build mode (default) — OpenCode reads, writes, and edits files. This is the primary mode for development work.
- Plan mode — OpenCode suggests how it will implement a feature but cannot make changes. Use this for iterating on approach before committing.
The indicator in the left side of the chat prompt shows which mode is active. Switch freely between them as needed.
Key Features
MCP (Model Context Protocol) Servers: Connect OpenCode to databases, APIs, file systems, and other external tools through the standard MCP interface. Configured in opencode.json under the mcpServers section.
LSP Support: OpenCode automatically detects and loads the right Language Server Protocol servers for your project's languages, giving the model accurate code intelligence.
Custom Tools: Define custom tools that OpenCode can call — useful for project-specific operations like running tests, linting, or deploying.
Rules: The AGENTS.md file serves as project-specific instructions. Add coding conventions, architecture decisions, and preferences here. OpenCode reads this file on every session.
Plugins: Extend OpenCode with npm-installed plugins. Manage them via:
opencode plugin opencode-my-plugin
Or add them to opencode.json:
{
  "plugin": ["opencode-my-plugin"]
}
Multi-session: Run multiple OpenCode agents in parallel on the same project. Each session is independent with its own conversation history and file state.
Share sessions: Generate a shareable link for any session with /share. Useful for debugging with teammates or referencing past work.
Undo/Redo: If OpenCode makes changes you don't want, revert them with /undo. Re-apply with /redo. Both work across multiple steps.
Image support: Drag and drop images (screenshots, mockups, diagrams) directly into the terminal. OpenCode scans the image content and incorporates it into its understanding.
Model switching: Change models mid-session with /models. Switch between Zen, Go, OpenRouter, or any configured provider without restarting.
Themes: Customize the TUI appearance with built-in themes or create your own. Configure in opencode.json.
Keybinds: Customize every keyboard shortcut to match your workflow.
Desktop app (beta): OpenCode is available as a native desktop application for macOS, Windows, and Linux. Download it from opencode.ai/download. Same agent experience outside the terminal.
IDE extensions: Use OpenCode directly from VS Code and other editors alongside the terminal interface.
Client/server architecture: The OpenCode engine runs as a server, letting you connect from the terminal, desktop app, IDE extension, or even a mobile device remotely.
Zen vs Go: Quick Comparison
| Feature | Zen | Go |
|---|---|---|
| Pricing | Free tier + pay-as-you-go ($10 min) | $10/month ($5 first month) |
| Models | Pay-per-request curated open-source models | Subscription access to top open-source models |
| Usage limits | Per-request billing after free tier | Generous monthly limits |
| Best for | Trying OpenCode, light or occasional use | Regular daily coding, heavy usage |
Tips & Best Practices
- Set a default model in
opencode.jsonso you don't have to pick each session - Use the @ key to fuzzy-search files in the project — typing
@src/utils/helpers.tsgives OpenCode precise file context - Start with Plan mode for complex features — iterate on the approach, then switch to Build mode to execute
- Commit AGENTS.md to git — without it, each session starts cold
- Use
/undoliberally — OpenCode supports multiple undo steps - Run
/modelsto see all available models across all configured providers - Keep auth.json secure — it contains raw API keys. Never commit it or share it
- Use
opencode run "message"for quick headless commands without entering the TUI - Use
opencode webto start a server and work through a browser interface - Run
opencode upgraderegularly — the project ships frequent updates with new features and provider support
OpenCode is MIT-licensed and available on GitHub. With 850 contributors and 6.5 million monthly developers, the community is active on Discord and the docs at opencode.ai/docs cover every feature in detail.