Google Colab Guides — GPUs, Drive, CLI, and Open-Weight Models
Practical Google Colab guides: get started with a paid Google AI plan, mount Drive, manage GPU runtimes and compute units, use the Colab CLI, and run Qwen-Image and MiniMax H3 in ComfyUI.
Google Colab gives you a hosted Jupyter notebook backed by a temporary cloud virtual machine, with optional GPUs and TPUs. Since September 2026, eligible paid Google AI plans include Colab benefits — compute units and access to more powerful hardware — so a subscription you may already pay for doubles as a cloud workspace.
This section is a practical path through that setup, based on our own runs. The announcement blog post covers the news; these guides cover the doing.
Where to start
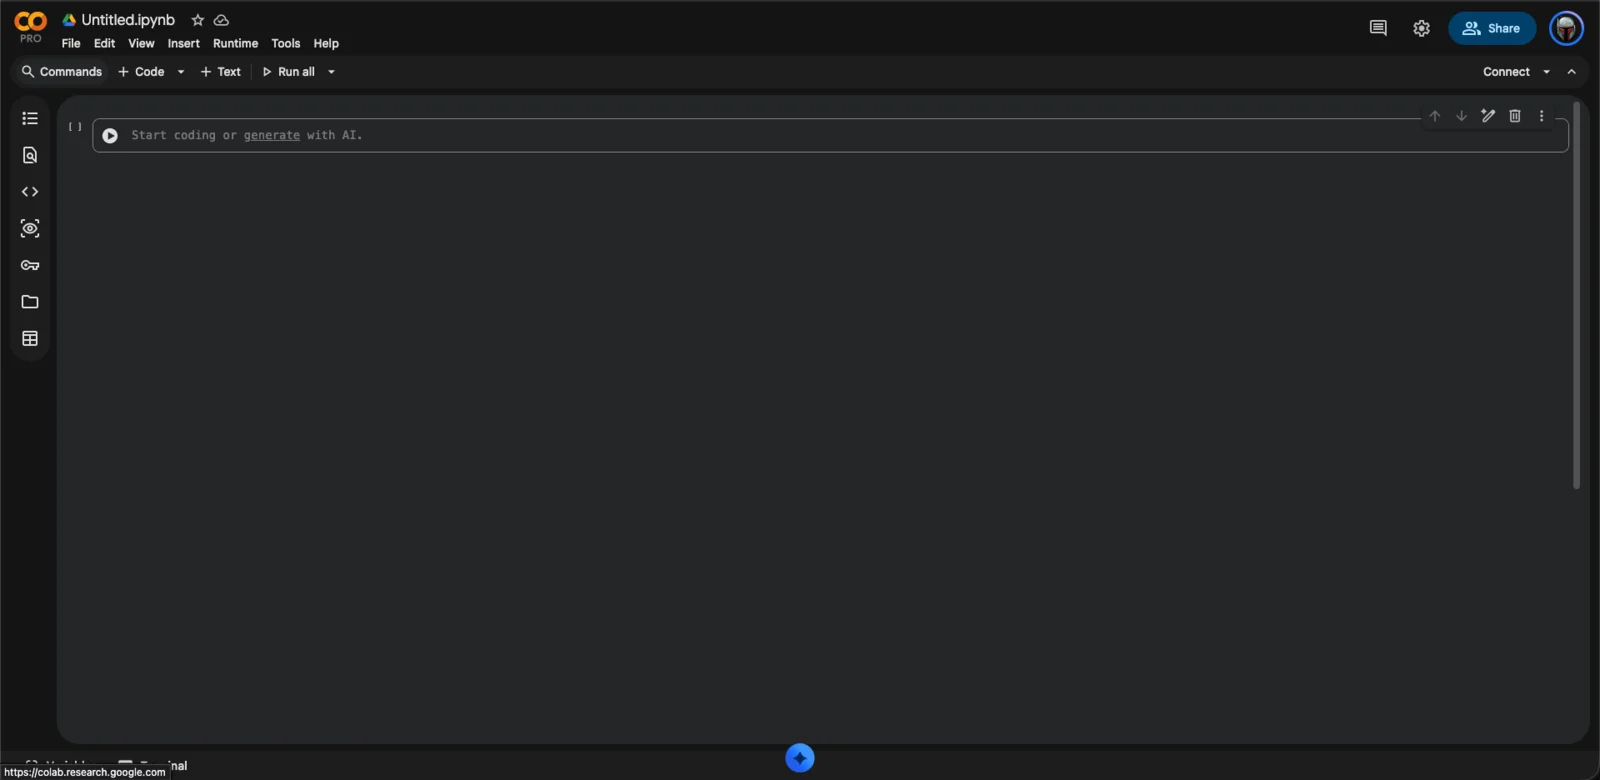
- Getting Started — confirm your plan's Colab benefits, create a notebook, connect, and choose a runtime.
- Working in Colab — the four skills you will use constantly: mounting Google Drive, inspecting GPUs and compute units, driving runtimes from the terminal with the Colab CLI, and reaching web UIs such as ComfyUI through proxies and tunnels.
- Hugging Face Models in Colab — choose the right model files, budget disk and VRAM, and download weights into the layout a workflow expects.
Model walkthroughs
- Run Qwen-Image 2.1 in Colab with ComfyUI — a complete image-generation run: ComfyUI, GGUF loaders, workflow import, and the troubleshooting we needed along the way.
- Run MiniMax H3 in Colab with ComfyUI — video generation with audio on a Blackwell-class GPU, including hardware checks and a large model download done right.
Related Articles & Guides
Getting Started with Google Colab on a Paid Google AI Plan
Confirm your Google AI plan's Colab benefits, create a notebook, connect to a runtime, and choose a GPU. Understand the difference between the saved notebook and the temporary runtime.
Using Hugging Face Models in Google Colab
Download open-weight Hugging Face models into Colab correctly: list repo files before downloading, budget disk and VRAM, verify weights, and put files in the layout tools like ComfyUI expect.
Run MiniMax H3 in Google Colab with ComfyUI
Generate video with audio on a Colab Blackwell GPU: check the runtime, download the template-matched MiniMax H3 model set, run the official workflow, and verify the output's stereo audio track.